
Exchanging data between a number of Bluetooth Low Energy devices/sensors from a Linux hub is something that could be useful for a number of use cases.
As I’ve been learning Bluetooth on Linux using Python I’ve been looking for a fun way to demonstrate the above functionality. Then I remembered about the buttonFlash game that Albert Hickey had built and shown at a community event in Cambridge. He had used WiFi with esp8266 in Pringles tubes.
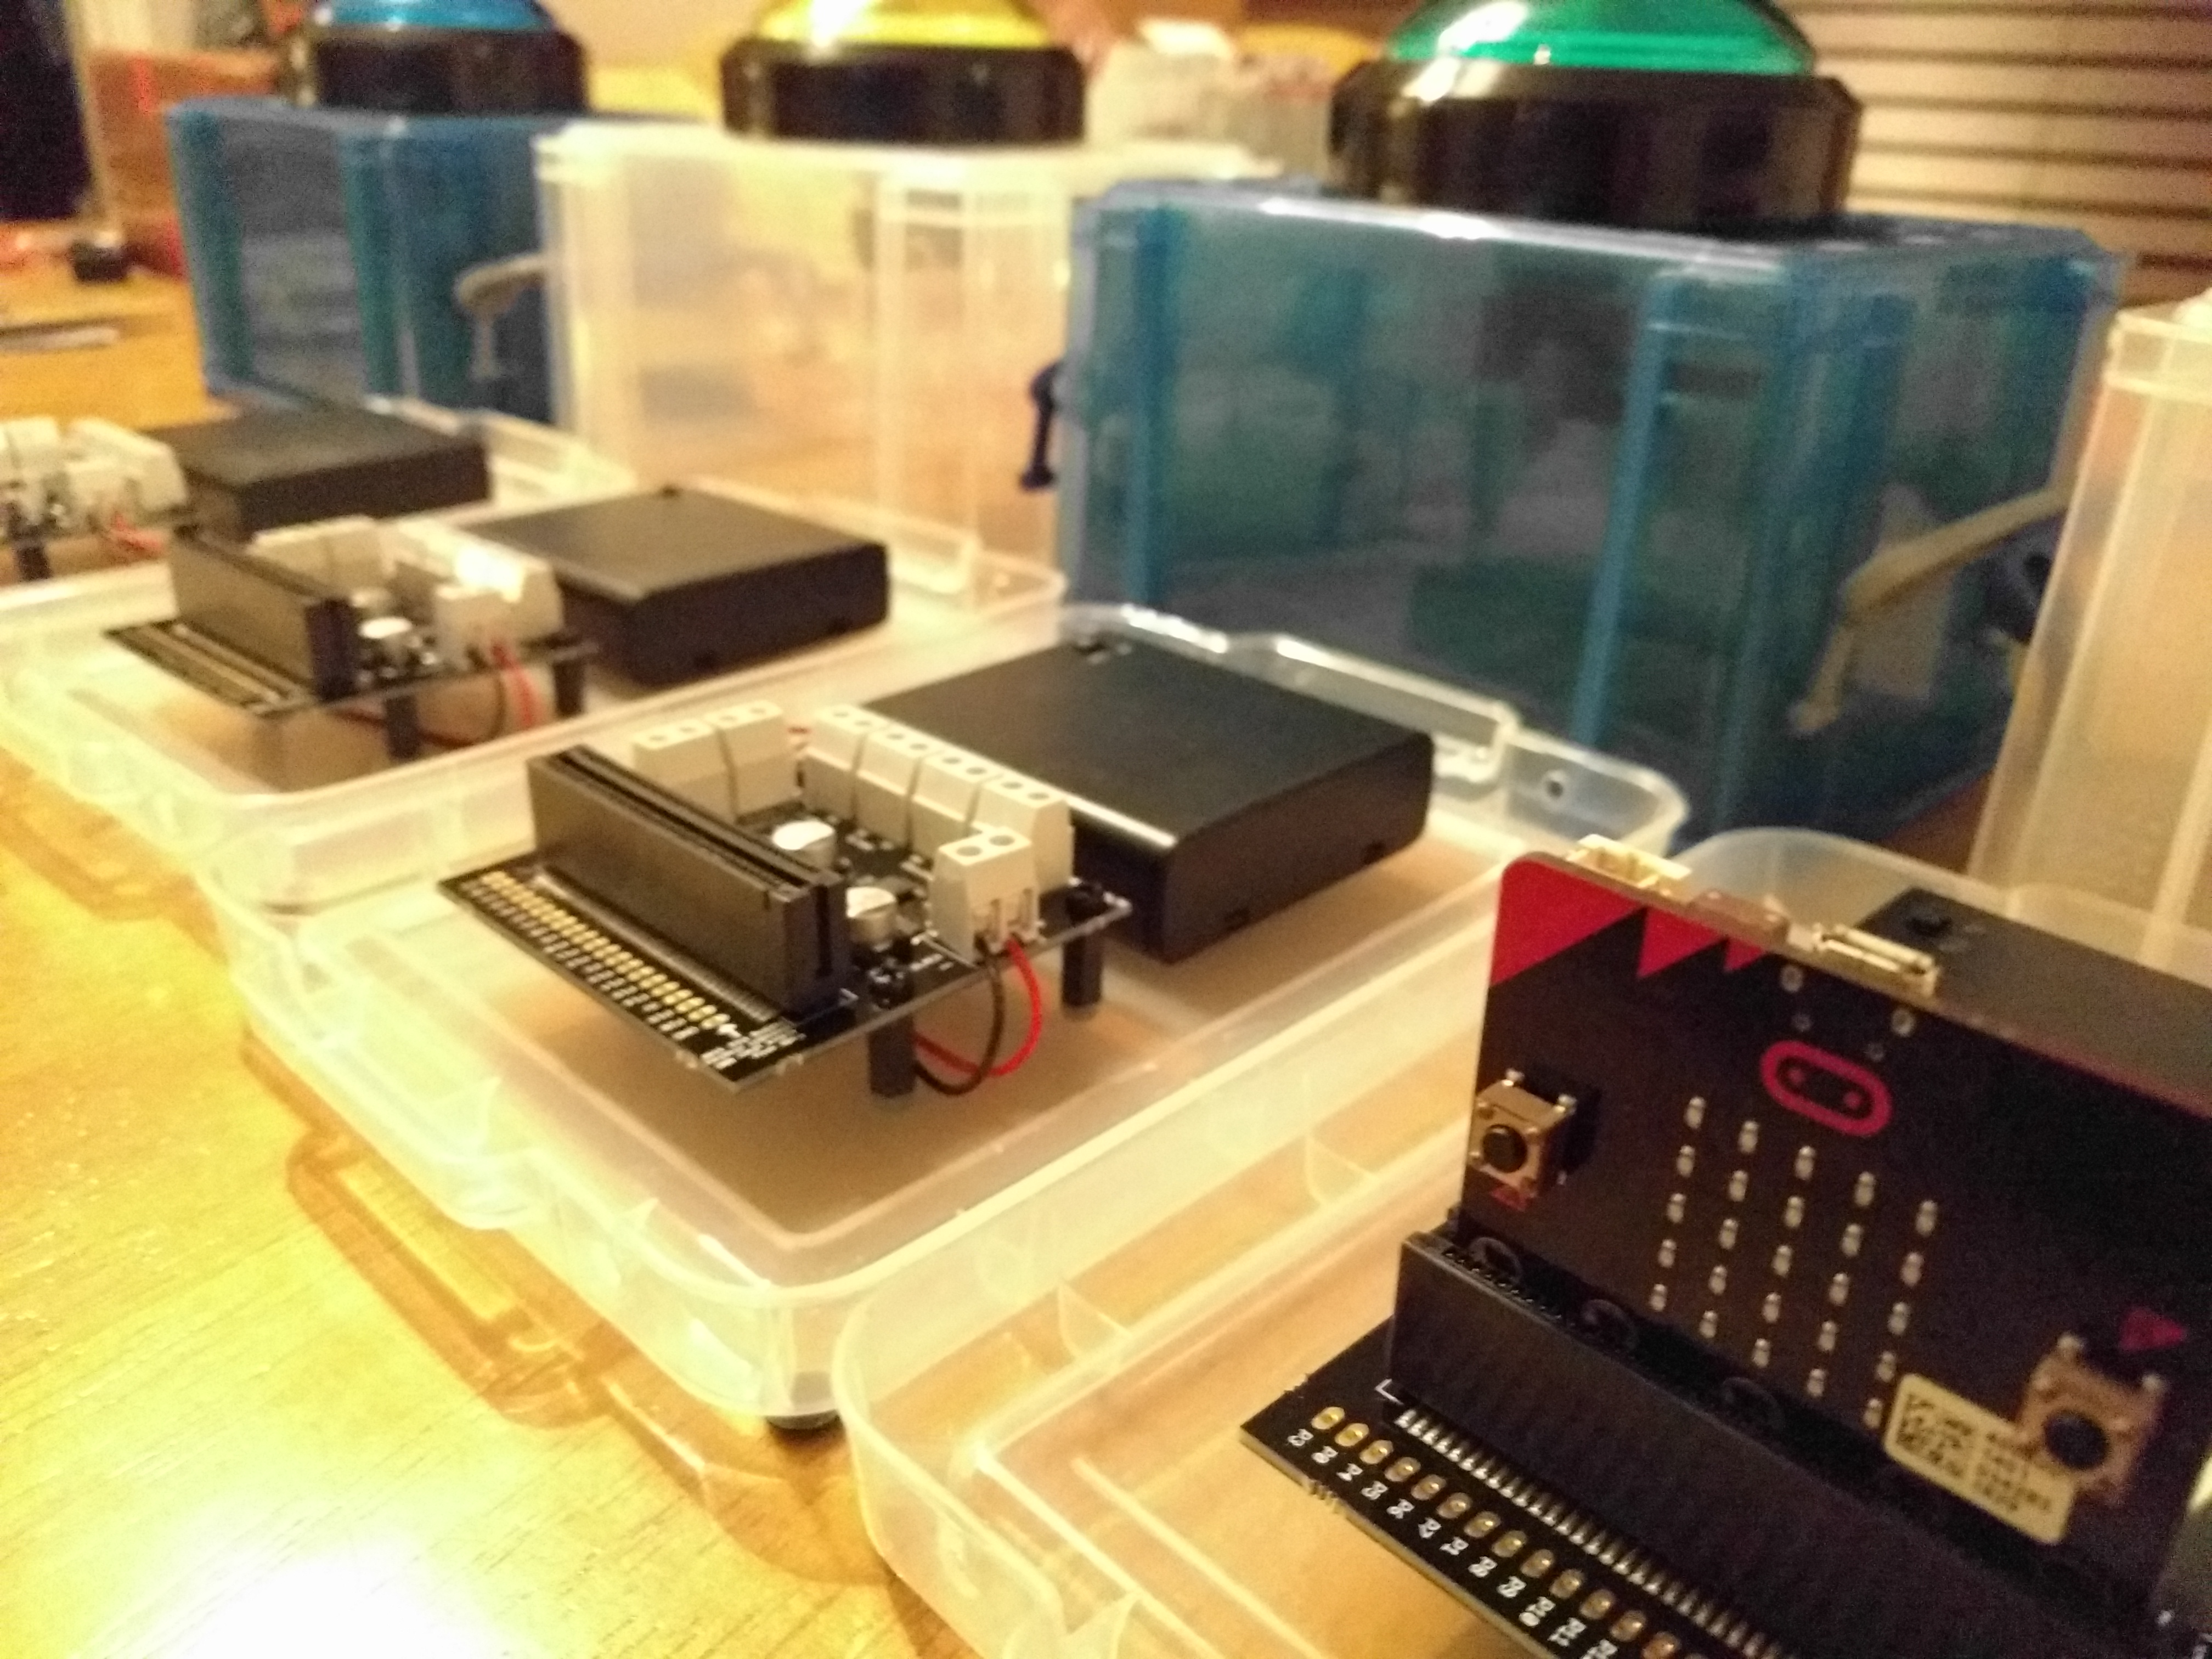
I thought this game was a good candidate to do with Bluetooth. I had originally intended to also use Pringles tubes and then I saw the 100mm buttons which were too big for Pringles tubes. I settled on using the micro:bit as my Bluetooth peripheral as it has a very well defined BLE profile and predefined code from Martin Woolley so I could focus on the Python code on the Dragonboard 410c.
I’ve done a quick video run through of the project:
| Dragonboard 410c | http://www.96boards.org/product/dragonboard410c/ |
| micro:bit microcontroller | https://shop.pimoroni.com/products/microbit |
| Driver board | https://www.kitronik.co.uk/5620-motor-driver-board-for-the-bbc-microbit-v2.html |
| Large arcade buttons | https://www.coolcomponents.co.uk/en/components/switches/buttons/big-dome-push-button-blue.html |
| Really useful box | http://www.reallyusefulstorageboxes.co.uk/1-6litre-really-useful-storage-box-c2x12248525 |
Thanks to Bitty Software this is very easy as they have done a hex file for the micro:bit that exposes all of the Bluetooth services we need. This was created for their micro:bit blue app (you should check the app out as it is very good). You can download the hex file from their webiste.
You will need to look for "Main Bluetooth services, pairing not required" link for the download. The loading of the hex file is standard for the micro:bit. We have chosen ‘pairing not required’ option because for this exercise we value simplicity more than security.
The first time you start the micro:bit with this hex file it will be requested to draw a circle. This is to calibrate the magnetometer. Once calibration is done you are good to use the micro:bit.
This is a little bit more involved as at the time of writing this Debian Jessie comes with BlueZ (the Linux Bluetooth stack) version 5.23.
We are going to access BlueZ through its D-Bus GATT API which was released to production in version 5.43. So we need to upgrade the version of BlueZ. There are full instruction on how to perform the upgrade available in the Bluezero repository at:
https://github.com/ukBaz/python-bluezero/blob/master/docs/install_bluez.rstThe good news is that the next major release of Debian is Stretch which will come with at least BlueZ version 5.43
There are only a couple of non-default libraries that need to be added for this to project.
guizero - Allows the creation of GUIs with a low learning curve
pydbus - A pythonic library for accessing D-Bus
These can both be installed using ‘pip3 install’.
Bluetooth and even just BLE is a very big topic that is too large to be covered in this article. The key piece of BLE (for this project) is the Generic Attribute Profile (GATT) which is used to store Services, Characteristics and related data in a simple lookup table using 16-bit UUIDs for each entry in the table.
Characteristics are defined attribute types that contain a single logical value which is what we are going to focus on.
The full details of the micro:bit BLE profile is available at:
https://lancaster-university.github.io/microbit-docs/resources/bluetooth/bluetooth_profile.html
The BlueZ API makes use of the D-Bus software bus, to communicate between your program and the Bluetooth daemon. This article will not attempt to explain D-Bus. Hopefully it will be enough to say the Bluetooth information used by BlueZ on linux has a directory looking structure that reflects the Bluetooth GATT database. It is this D-Bus object path that is used as input for pydbus.
We have created a Python function called get_dbus_path that helps us get the D-Bus object path for known Bluetooth GATT UUID’s
This diagram shows how the adapter, device, service, characteristic and descriptor build to make the D-Bus object path
-> /org/bluez/hci0 {org.bluez.Adapter1: Address}
|
|-> dev_xx_xx_xx_xx_xx_xx {org.bluez.Device1: Address}
| |
| -> servicexxxx {org.bluez.GattService1: UUID}
| |
| -> charxxxx {org.bluez.GattCharacteristic1: UUID}
| | |
| | -> descxxxx {org.bluez.GattDescriptor1: UUID}
| |
| -> charxxxx {org.bluez.GattCharacteristic1: UUID}
|
-> dev_xx_xx_xx_xx_xx_xx {org.bluez.Device1: Address}
For each of the Adapter, Device and GATT levels there is a corresponding documented D-Bus API from BlueZ
The full code used for the demo is available as a gist
In this section some of the key pieces of code will be explained as to what it is doing.
To get the object:
    self.dev_obj = bus.get(BLUEZ_SERVICE_NAME,
                           self.get_dbus_path(self.address))
self.dev_obj is a pythonic object that has the methods and properties described in the BlueZ Device API.
So to connect to
that device we would call the method Connect like this:
self.dev_obj.Connect()
Whereas if we wanted to get the property that stores what the connection state is it would be:
print(self.dev_obj.Connected)
An event loop needs to be run in order to receive all Bluetooth related events. To specify the callback to be executed on the event is as follows:
self.dev_obj.onPropertiesChanged = self.dev_connect
The self.dev_connect function is used to know when the GATT database can be built after the
device has connected.
This readiness to build the GATT database is indicated by the ServicesResolved property being set to True. We also use an event callback to capture the button press.
self.dev_btn.onPropertiesChanged = self.btn_pressed
This is on the button A characteristic.
The micro:bit Bluetooth profile allows us to read and write to the pins of the device. Firstly we will set all of the pins as digital (rather than analogue) pins
dev_ad_config.WriteValue([0x00, 0x00, 0x00, 0x00], {})
Then we set all the pins as outputs with:
dev_io_config.WriteValue([0x00, 0x00, 0x00, 0x00], {})
For switching the button light we use pins 8 and 11. To set them we send the pin number and the pin value we require. We use pin 8 as the ‘ground’ pin and pin 11 as either low or high. e.g:
    self.dev_pins.WriteValue([0x08, 0x00, 0x0C, 0x00], {})
    self.dev_pins.WriteValue([0x08, 0x00, 0x0C, 0x01], {})
The ‘button box’ is functioning very well and now it has been built more possibilities are presenting themselves. For example, the LED display is clearly visible through the box and could be used to convey information.
For example the buttons could be used as a quiz buzzer and the LEDs could be used to display that teams score.
I got invited along to London Open Hardware to demo this project. See how it went...